
Content Caching is a new feature available in High Sierra. In essence, it makes the existing Caching service from Server.app available to all consumers to use in their home environment or other environments where configuring a server installation is too costly in time or knowledge. It's much easier to set up and configure Content Caching than the caching service in Server.app, but functions in the same way by caching the same types of content, Apple first-party and iCloud.
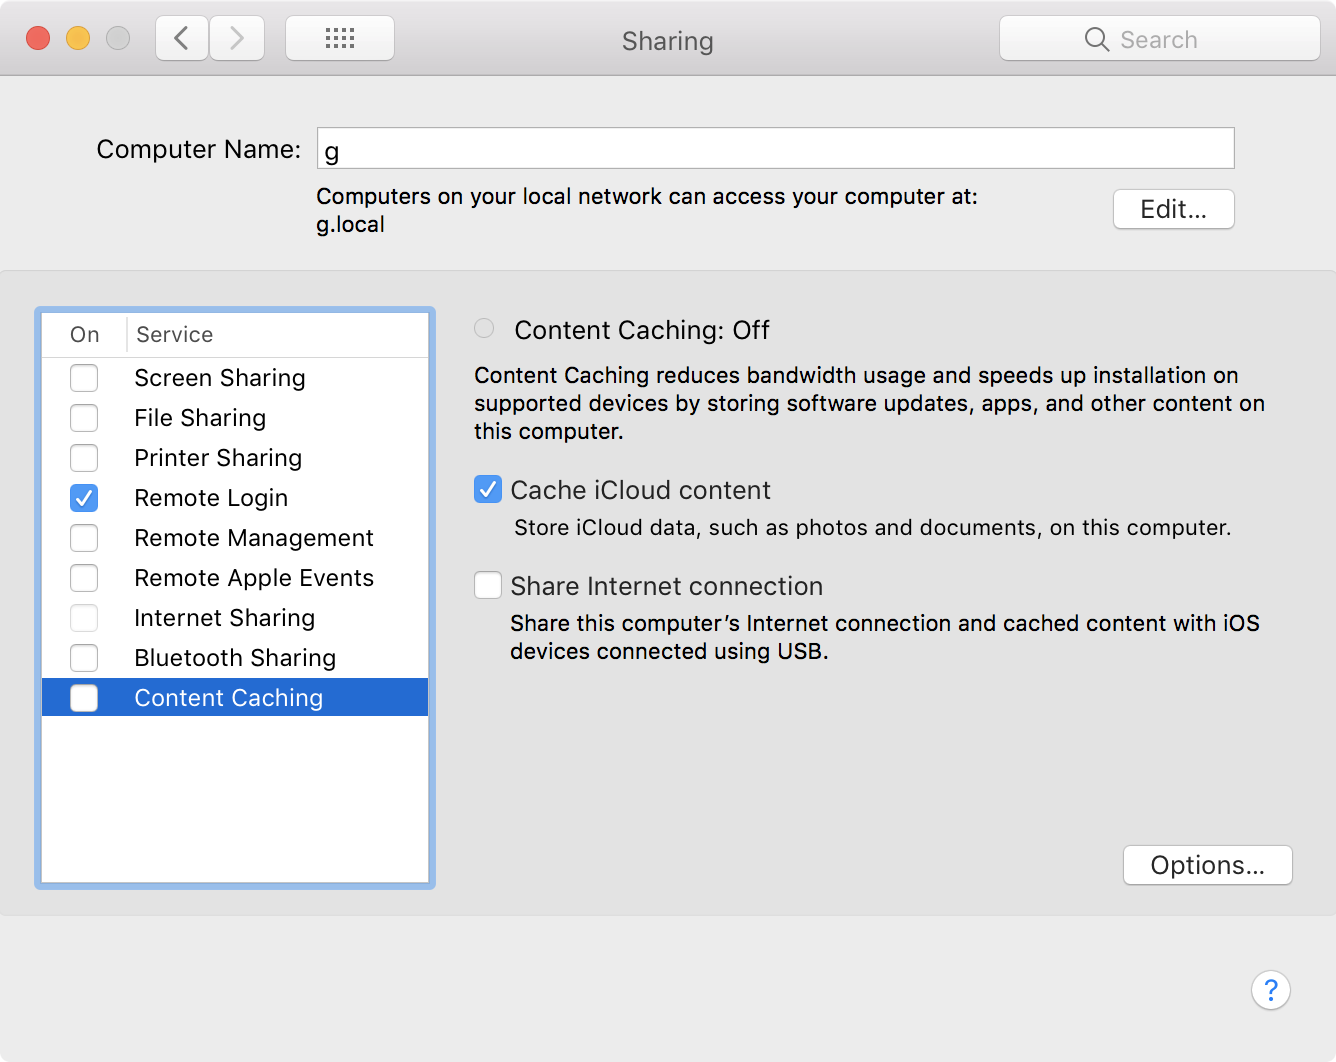
Content Caching reduces bandwidth usage and speeds up installation on supported devices, by storing software updates, apps, and other content on this computer. Cache iCloud content: Store iCloud data, such as photos and documents, on this computer. Share internet connection: Share this computer's Internet connection and cached content with iOS devices connected using USB.
How to set up Content Caching in macOS?
- Open Sharing.prefpane from System Preferences.
- Unlock the pane. Click the padlock icon in the lower-left and authenticate.
- Configure the sharing service. More information is given next.
- Switch it on. Click the checkbox on the left of the service name to enable it.
Keep in mind that Content Caching will download all content requested by any client device, so the service will consume vast quantities of storage space unless you limit the storage, explained later. Content caching should only be configured on a Mac over Ethernet unless the network bandwidth is so low that Wi-Fi would still provide sufficient speed, faster than downloading again from Apple.
Content Caching is temporarily unavailable
This error can occur when trying to enable Content Caching on macOS. Generally, this error is transient, and trying again later will work fine.
The main issue causing this error is an inability to connect to Apple's servers in the registration of the caching server. lcdn-registration.apple.com is Apple's server that responds to your Mac turning on Content Caching. A POST request is made to the API endpoint /lcdn/register and a valid response must be received for the caching server to enable correctly.
You can try to make a connection yourself to this server using cURL from Terminal:
curl -X POST "https://lcdn-registration.apple.com/lcdn/register"Code language: JavaScript (javascript)MALFORMED_REQUEST_BODY is an expected reply to this request. If the request times out, check this request isn't being blocked by your network. It could be that Apple's server is responding with a bad reply, which this test won't reproduce, but this will quickly check that the request out is not being blocked.
For further debugging, you can find messages logged by com.apple.AssetCache in Console.app. Once you've enabled private log messages in Catalina’s Console.app, then you can filter by ‘AssetCache’ and see if there is any more information on why the caching server couldn't be turned on.
You can try running the asset cache from the Terminal itself, which may produce other output:
sudo AssetCacheManagerUtil activateIf this returns INTERNAL_SERVER_ERROR, Apple's servers are responding incorrectly to the request your Mac is making, and I suggest trying again later.
Storage

You can inspect how much storage space is being used on your Mac by the caching service by clicking the Options button shown in the above screenshot. This will show the following pane, which will present the current cache total. The storage used by the caching service is purgeable if the disk is running out of space, and the total is included in Finder, Disk Utility and System Information as purgeable storage, to be automatically cleared by the system if space is low. You can also manually set a limit using the slider in this pane, which prevents caching from using any more than permitted. If you have more than one available disk for storing cache on, another option appears in this tab for setting the storage disk — click Edit to change the disk used for content caching.
Advanced Options configuration
To configure other options, hold ⌥alt and the Options button changes to Advanced Options. Clicking it brings up a sheet with tabs across the top: as well as the previous Storage tab, three more tabs for Clients, Peers and Parents.
Clients
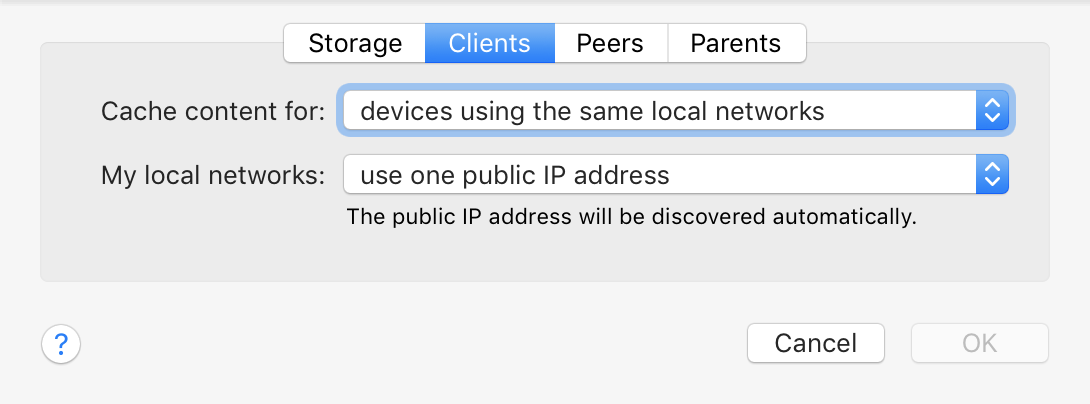
The Clients tab allows you to configure which computers can class themselves as clients of this caching server and are permitted to use and store data here. The default setting is to cache content for devices using the same local networks, where the local networks use one public IP address. This configures clients in such a way that if they meet the criteria they will automatically use Content Caching without any configuration required. This automatic configuration works for iOS 7 or later and macOS 10.8.2 or later.
Other configurations are available, such as caching for the same public IP regardless of meeting the local networks criteria, or providing custom local network address ranges. The latter allows for configuration of a fallback content cache, where the computer will cache content for devices when their preferred content caches are unavailable. Should custom public IP address ranges be required, this option can be set using the second dropdown and custom ranges provided. More configuration is required when choosing this option, as automatic DNS resolving doesn't work here — a DNS entry must be added manually. Once the public IP ranges have been set, choose DNS Configuration to show the necessary configuration required.
- DNS type: BIND, TXT record:
_aaplcache._tcp 259200 IN TXT "prs=x.x.x.x-y.y.y.y",
copy the TXT record into your network's DNS configuration. - DNS type: Windows, Command:
dnscmd . /RecordAdd <ZoneName> _aaplcache._tcp 259200 TXT "prs=x.x.x.x-y.y.y.y",
replace <ZoneName> and run the command.
Peers
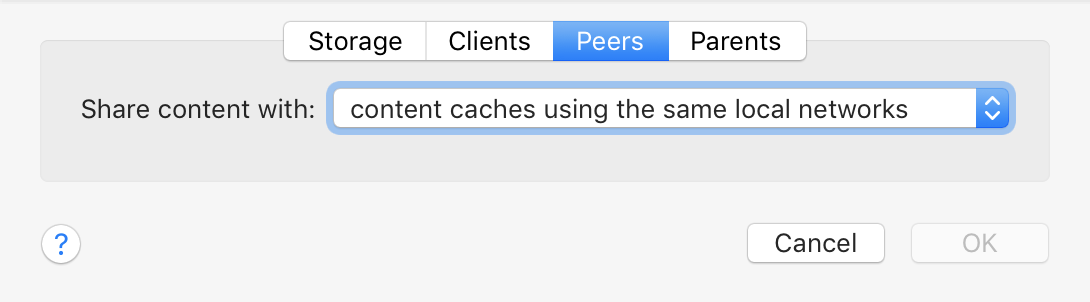
The Peers tab is similar to the Clients tab, but this tab concerns itself with sharing cache between other servers instead of clients. Borrowing from the previous tab, a similar dropdown is available for setting which IP ranges to share content with: content caches on the same local networks (default), same public IP address or custom IP ranges which you can provide.
Parents
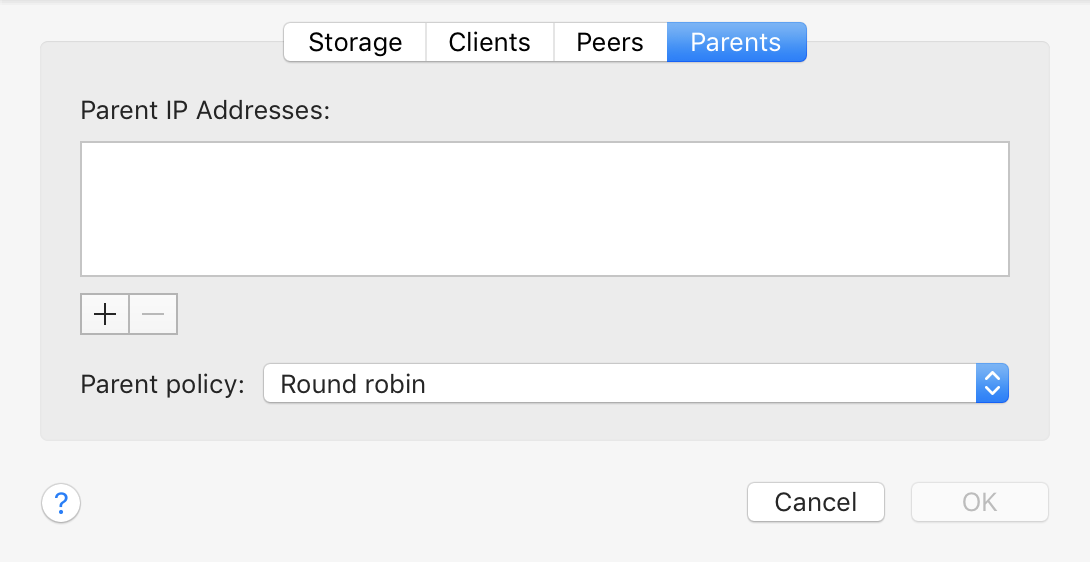
You can configure a hierarchy of caching servers using the Parents tab. Specify IP addresses of parent content caching servers and choose a policy for deciding which caching server to use:
- Round robin (default): Standard load balancing procedure of cycling through the parents in order one by one.
- First available: The IPs are tried in order until an available server is found, which should be the first IP in the list unless something's gone wrong.
- Sticky available: Like First available, except when a server is unavailable and so the next one was chosen, keep using that subsequent one until it itself becomes unavailable, then use the next one and repeat.
- Random: If in doubt, randomly pick this option to end up with a random choice of cache for each request.
- Hash: Creates a hash from the path of the URL which was accessed and which the cache intercepted and always directs the same hash to the same server. This limits the overlap of the caches and maximises the storage space available in all content caches.
AssetCacheManagerUtil
Settings are stored in /Library/Preferences/com.apple.AssetCache.plist, and are managed by AssetCacheManagerUtil. To view settings, use AssetCacheManagerUtil settings. Settings can be set using
sudo -u _assetcache defaults write /Library/Preferences/com.apple.AssetCache.plist
sudo AssetCacheManagerUtil reloadSettings
In addition to the settings mentioned above, there are a few more settings which can be configured manually.
Leave a Reply to Richard Migneron Cancel reply